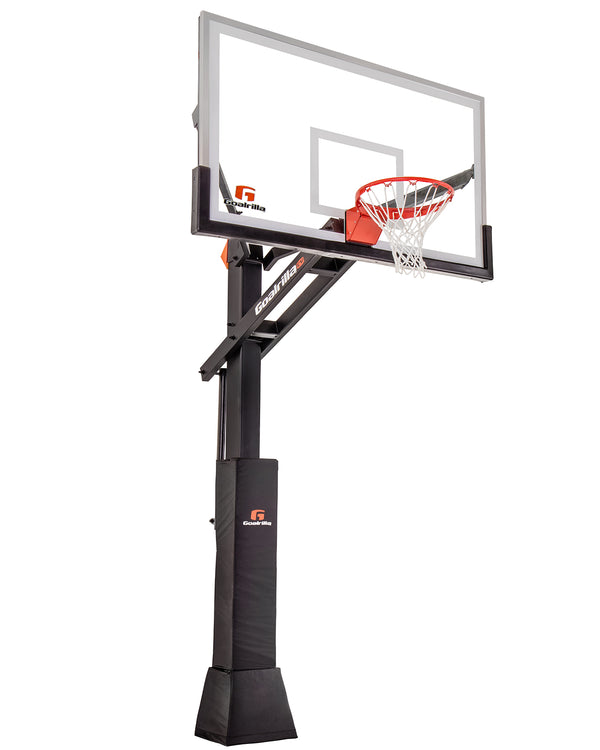
REVIEW & INSTALLATION GUIDE: CV72S
Follow a step by step Goalrilla CV72S basketball hoop installation guide from Bower Power. This family did a complete basketball court renovation transitioning from one portable basketball hoop to two Goalrilla CV72S basketball goals and document the transformation in this DIY blog.

From Bower Power:
We are making major headway in the transformation of the basketball court. It’s a HUGE space so it feels like it’s going at a snails pace but when we are done, I’m positive that we are gonna LIVE out there.
Today I wanted to share with you the funnest part to date….installation of the basketball goals! It’s funny because some folks call them basketball hoops and some basketball goals – but no matter what you call it – they are the most fun part of this makeover!
As you may recall – our basketball goal before was rather pathetic. It couldn’t even stand upright by themselves. We had to anchor it down with a giant rock and the boys hated it because it didn’t get low enough for them to shoot. Earlier we had installed the fence, moved the trampoline and donated the goal, and pressure washed the court and retaining wall. William has already shown that he loves basketball (maybe not as much as baseball yet but still…there is time to covert him to my favorite sport! ha!) and we want this court to be a long term investment….an area where ALL the boys and their friends want to hang out and play.
I remember playing till the wee hours of the night with my siblings and really love those memories. Jeremy did all the research on the very best basketball goals and decided that only the best would do. Jeremy has this thing where he likes to have the best equipment for sports. He said they needed to last through the years with our five kiddos and they needed to be adjustable for little ones and strong enough for when these little kids aren’t so little. That is why he chose the Goalrilla goals.
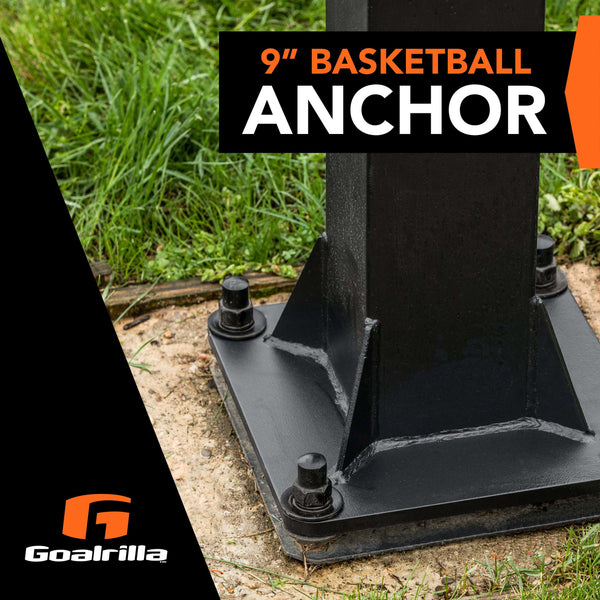
First thing we had to do was dig the holes in the location of our goal posts. The anchoring system with the Goalrilla goals required a very deep hole that was filled with concrete and rebar. That meant that Jeremy (along with some helpers) got to dig out the holes…. The anchoring system walks you through the entire process. This package comes with the goal and it is really helpful to read through it a couple times so you know exactly what needs to happen!
There were also a few tools required to install the anchoring system beside a shovel and a hole digger and a wheelbarrow and concrete with water. Speaking of concrete – that is one of the hardest things about the installation. We needed many bags of concrete to install both goal posts. The hole is roughly 2 feet by 2 feet by 4 feet deep so it required mixing LOTS of concrete.
Jeremy borrowed our neighbors wheelbarrow and mixed the Quikrete in it till it was the right consistency. Then the concrete mix was dumped in the hole. The concrete then comes up to a form. Jeremy built our form out of three pieces of 2×4 and one piece of 1×4. The narrow piece of wood went on the side closest to our concrete pad. Once you get up to roughly 12″ below the ground level, it is time to install the rebar. Jeremy wanted me to remind everyone that prior to installing the rebar, you want to make sure you are consistently mixing the concrete that is in the hole. You do this by shoving your spade down in there. Basically you are just stabbing it so that the ‘batches’ are mixing together. It also gets out air bubbles.
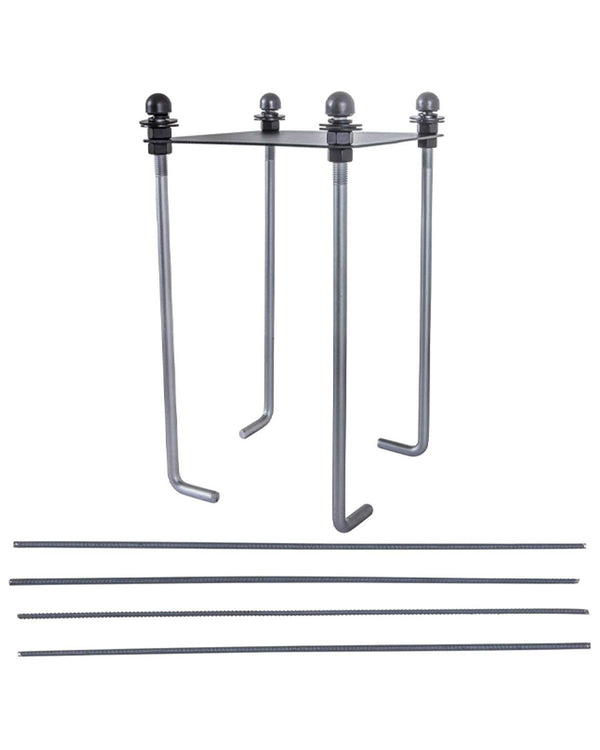
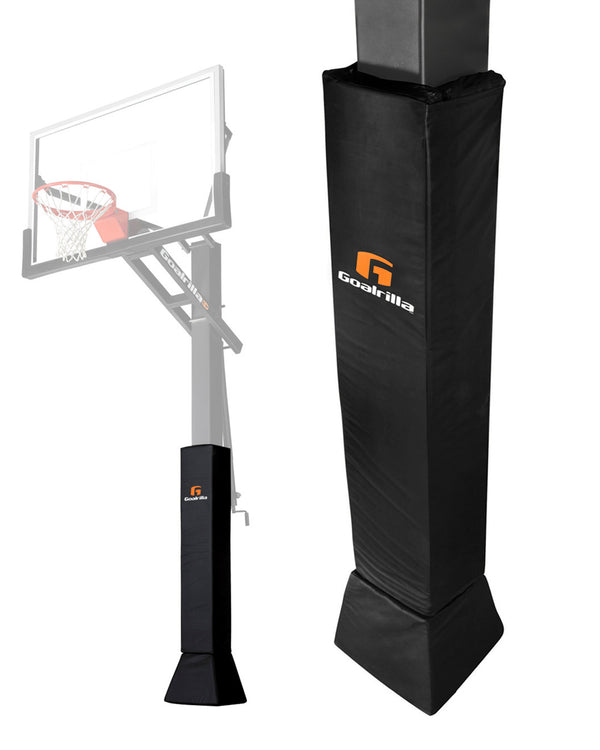
The concrete gets reinforced with rebar. Rebar adds strength and stability. The anchoring system comes with four pieces for each goal. It is cut to length and you simply push it down into the concrete. The spacing should be 8″ from neighboring rebar. These need to be hammered into place.
After hammering them into place, you fill with concrete to the level of the form. Once it is in place, it needs to be filled…maybe just a smidge overfilled… then we scrape off the excess with a sliding back and forth motion. This is called screeding concrete. It’s important to not push DOWN on the frame or it will throw everything off. A lot of the water will come to the surface and Jeremy used a trough to smooth things over. After form is installed, the anchoring system goes into the wet concrete. First we marked the location of where the unit goes. The unit is a metal plate with L-shaped legs that are bolted onto it. It is the thing right behind Jeremy’s head in the photo below. All the excess concrete is removed from the bolts and the plate so when it dries, it is ready for the post installation. The Bower Power's review continues discussing the post building and installation.
When they completed the court, they shared: "I originally thought that we would only do one at the far end and Jeremy convinced me that we needed two. I’m glad we went for it. Already it has been great for the kids….when a few of them want to play different games, the two hoops have been great to eliminate the fighting."
The review continues on to say, "And honestly they are sooooo pretty. A few of our friends have already said that they can’t wait to see this thing done so that kids can play on one hoop and the adults can play on the other!"

"The materials are top quality….the adjusting mechanism is easy enough for my eight year old to do himself, the goal is extra wide so it makes it a little easier for my four year old to hit the backboard (which is very encouraging for him! He is loving it!). Overall – I am SO pleased with the way these turned out."
To read about their complete in-depth Goalrilla hoop installation and see photos of each step, click here.
Want exclusive deals, helpful tips, and inspiration to get the most out of your hoop? Yes, sign me up!
Shop Related Products